Docs / Images
Scene images
Scene images are made only when your story's Workflow is set to Storyboard grid. With the default Reference workflow, the crew makes videos straight from your characters and elements, with no scene images.
Updated November 16, 2026
Before you start
Check Workflow in Story settings. Scene images are made only with Storyboard grid, or the outdated Start frame. With the default Reference workflow there are none, and each video comes straight from the character and element references. Approve the screenplay and the cast first, and pick the art style before the first image is made; see Art styles.
Steps
- 1
Ask for the scene images
With Storyboard grid set, ask the crew in the chat to shoot the scenes, or name a single scene by number. Mira, the Art Director, composes, lights and grades every frame in the locked art style.
- 2
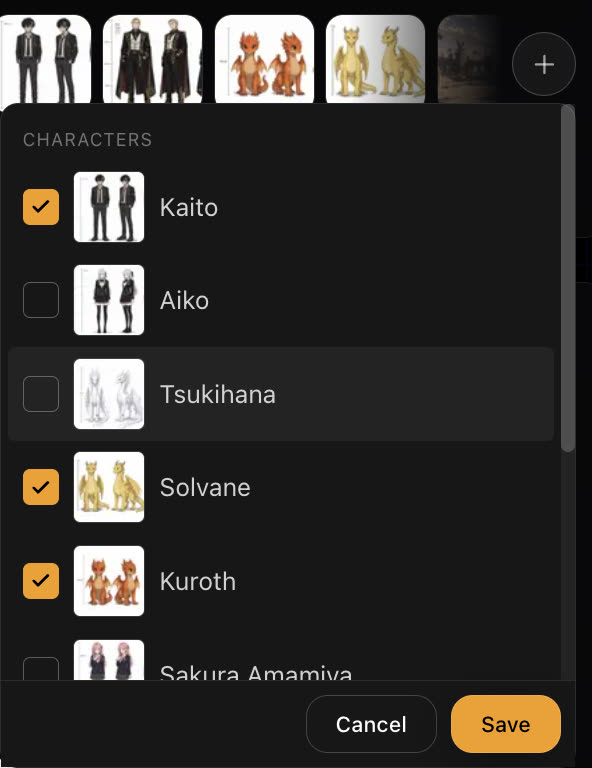
Check which characters are in the shot
Each scene lists the characters and elements it uses. Add or remove one before you regenerate, so the frame references the right sheets.
- 3
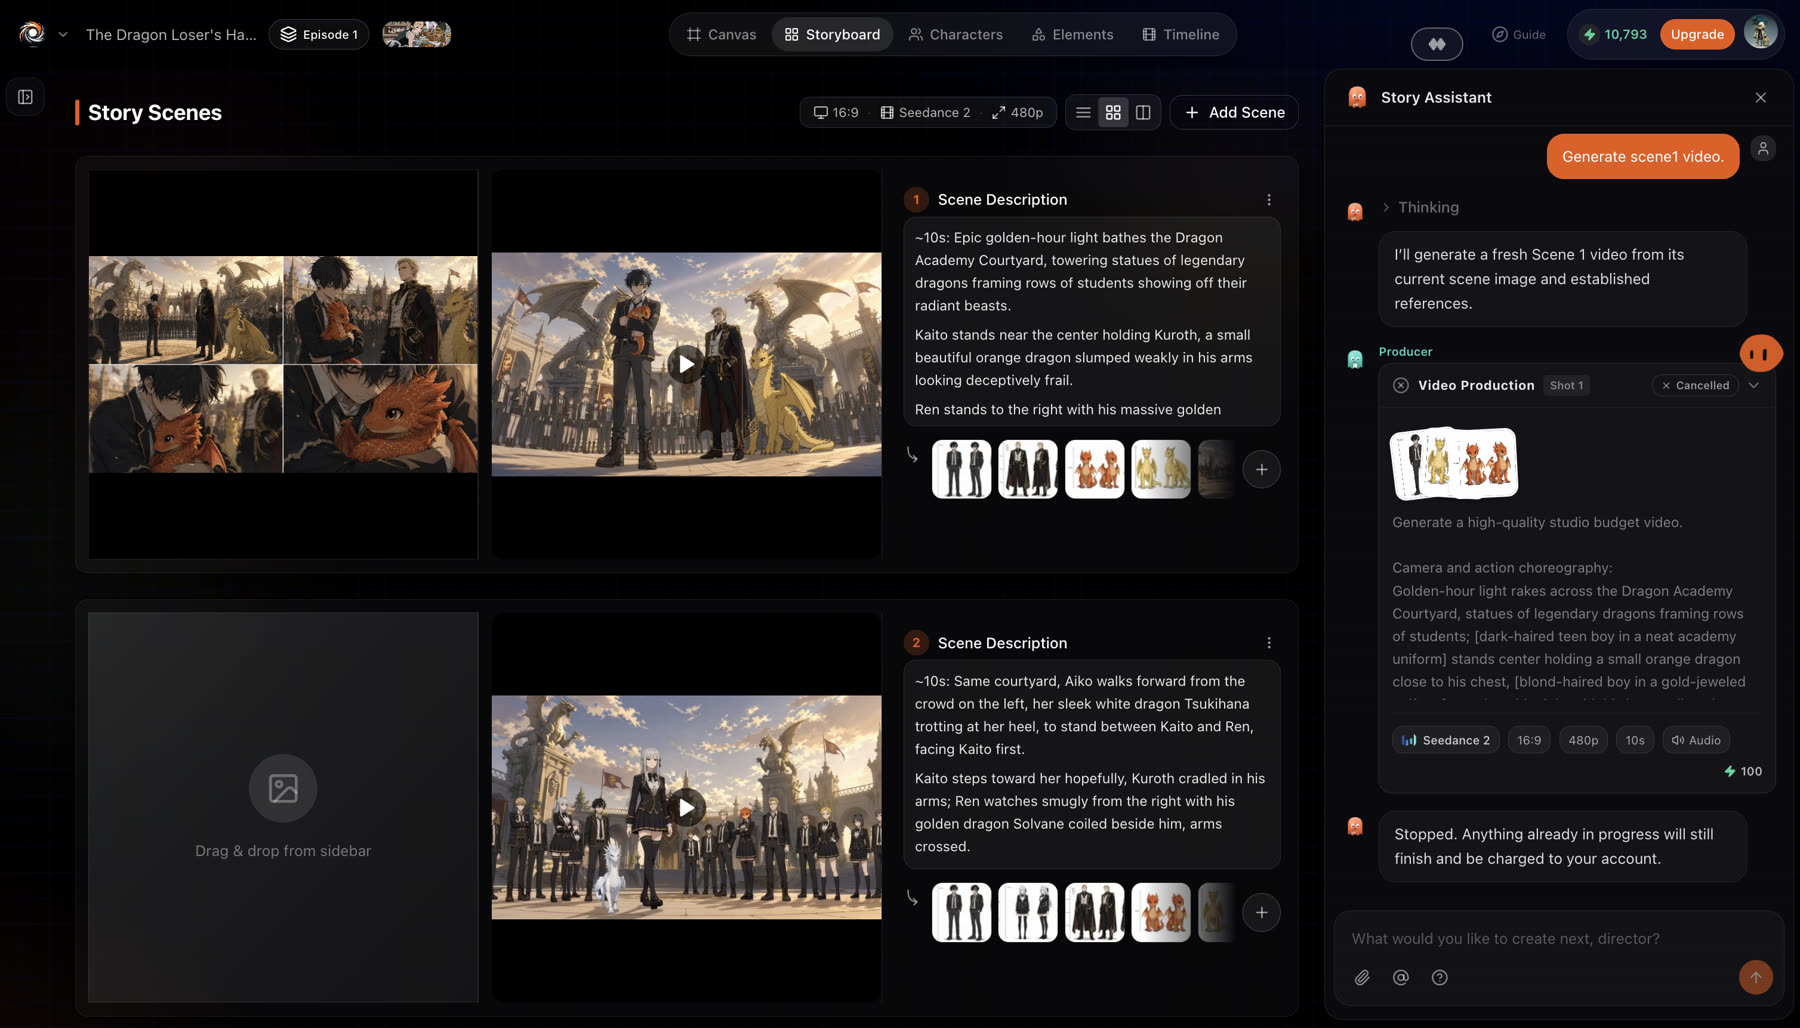
Review the frames on the storyboard
Every scene appears as a card on the Storyboard with its image, its video and its prompt. Drag assets in, reorder scenes, or delete one you do not need.
- 4
Fix what is off
Reply in the chat with the change you want, in plain language. Name the scene, say what to keep and what to change. For a small area, use Inpainting; for the light or the camera, use Relight or Reangle.
- 5
Approve, then move to video
With Storyboard grid, the approved image is the first frame of that scene's video. See Videos.
Settings
- Image
- The image model and resolution the art director uses for scene images. Set it in Story settings.
- Aspect ratio
- 9:16 portrait, 16:9 landscape or 1:1 square. Set once per story; individual shots can be resized later.
- Workflow
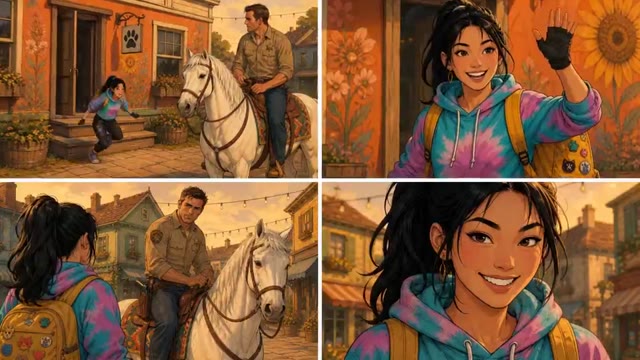
- Storyboard grid: a 2×2 multi-panel composite is the first frame and the video goes full screen after the first cut. Reference: shots are driven by character and element references, no scene image needed.

Best practices
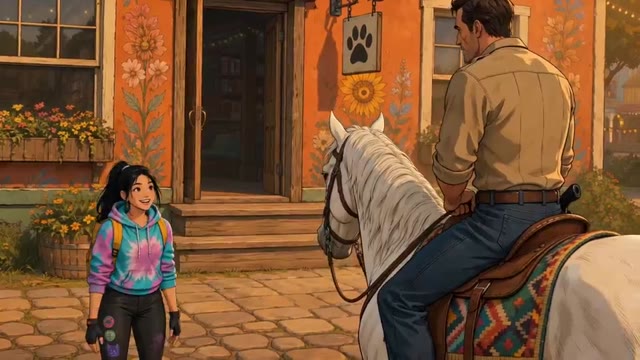
Describe what the camera sees, not the whole story. One frame holds one moment.
Weak
Make scene 3 better.
Better
Scene 3: low angle, Kaito in the centre of the courtyard, golden-hour light behind him, the dragon statues sharp on both sides. Keep his uniform and the stone floor as they are.
Say the framing, the light and what to keep. The art director changes only what you name.
- Change one thing per pass. If you change the framing, the light and the cast at once, you cannot tell which note worked.
- Fix a character in the Characters tab, not scene by scene. Every later frame references the sheet.
- Draft on a cheaper image model, then regenerate only the frames you keep on the full model.
Review the result
- On-model: faces, hair and outfits match the character sheets.
- Continuity: the location matches its reference, and props sit where they did in the scene before.
- Style: the frame matches the art style of the rest of the story.
- Framing: the frame works as the first frame of a video. Leave room for the motion you plan.
If something looks wrong
- A character is off-model. Check that the character is ticked for the scene and that its sheet is approved, then regenerate. See Characters.
- The place looks different from the last scene. Add the location as an element with a reference image, so every shot reuses it. See Elements.
- The look does not match the story. Check the art style in the assets panel. Every image the crew generates for the story follows it.
- Nothing happened. You may be short of credits. The crew stops and tells you instead of failing halfway.
Next
Was this page helpful?